Report Elements
Report
r = Report(
        report_dir,         # The output directory for the report
        report_name,        # The report name, which will be used in the report header
        report_date,        # The date of the report, which might be used in the report header
        color_mode='dark',  # The color mode of the report, either `light` or `dark
        config_file=None,   # A custom config file, mainly for user defined colors
)
The report class is the main object holding the report together. Under the hood it takes care of keeping track of
the overall layout buffers, all individual report pages, and the global navbar links. We currently support two color
profiles for the report, namely light and dark. We made sensible color choices for both modes, but you can simply
overwrite all of the default color selections by providing your own config file, as detailed in Report Configuration
and Color Palettes.
Report Header

r.add_report_header(
    include_date=False,      # If true the report header will not only contain the name but also the date
    include_created_at=True, # Shows the time and date when the report workflow actually ran
    color='forest',          # The color profile to use for the report header
)
The report header is supposed to be the very first element in every report. It lists the report name, the report date, as well as the actual creation time of the report files. However, you are able to omit both date and/or creation time. Or simply do not add the header at all, it is by no means mandatory.
Header

r.add_header(
    'Header Text',          # The text to be shown in the header
    color='ocean',          # The color profile to use for the header
)
A header is meant to separate logical section, providing structure for your report. You can use any pre- or custom- defined color to style the header. Additionally you can select the alignment of the text in your header. For even more control you can use any valid HTML syntax in your heder text. It will simply get wrapped inside.
Sub-Header

r.add_sub_header('Sub header of level 12', sub_level=12)
r.add_sub_header('Sub header of level 8', sub_level=8)
r.add_sub_header('Sub header of level 4', sub_level=4)
The sub-headers are meant for providing a more granular styling of your report. While the simple header spans the whole
report page a sub header only covers parts of it. Simply provide a sub_level ranging from 12 (largest) to 1 (smallest)
to shrink the header to your liking.
Errors / Warnings / Info

r.add_error_warning_info_section(
    errors=errors,          # A list of strings, detailing the errors encountered
    warnings=warnings,      # A list of strings, detailing the warnings encountered
    info=info,              # A list of strings, detailing additional information
)
The error/warning/info section is meant for any updates that potentially require your attention. They are meant to be right at the top of your report straight after the report header. The individual sections will be filled by their respective colors whenever there is actually information available. Clicking on one of these highlighted buttons will then reveal all status info of the respective box. If the provided list is empty for a status it remains grayed out.
Table


arr = [['A', 'B', 'C', 'D', 'E', 'F']]
arr.extend([[x*y for x in range(1,7)] for y in range(1,5)])
r.add_table(arr)
The table class provides an easy way to add structured, tabular data to your report. It actually uses datatables under the hood and as such alles you to use pagination, searching, etc. The full extent of this element goes beyond what we want to showcase here, so please have a look at the API documentation.
Columns

r.open_columns()
r.add_column()
r.add_header('Column I')
r.add_column()
r.add_header('Column II')
r.add_column()
r.add_header('Column III')
r.close_columns()
Layout pattern: Open a column section, add a column, then add any content sequentially that you want to render in the first column. Then add as many other columns as you want.
Tabs


r.open_tabs()
r.add_tab('Tab I')
r.add_text('This is just an example text to show you what it would look like.')
r.add_tab('Tab II')
r.add_tab('Tab III')
r.close_tabs()
Layout pattern: Open a tab section, add a new tab then add content sequentially. Then add as many tabs as you want. You can nest layouts arbitrarily.
Navbar Pills


r.open_navbar(loc='left')
r.add_navbar_item('Navbar Item I')
r.add_text(lorem.paragraphs(1))
r.add_navbar_item('Navbar Item II')
r.add_navbar_item('Navbar Item III')
r.close_navbar()


r.open_navbar(loc='top')
r.add_navbar_item('Navbar Item I')
r.add_text(lorem.paragraphs(1))
r.add_navbar_item('Navbar Item II')
r.add_navbar_item('Navbar Item III')
r.close_navbar()


r.open_navbar(loc='right')
r.add_navbar_item('Navbar Item I')
r.add_text(lorem.paragraphs(1))
r.add_navbar_item('Navbar Item II')
r.add_navbar_item('Navbar Item III')
r.close_navbar()
Layout pattern: Open a navbar section, add a new pill then add content sequentially. Then add as many tabs as you want. You can nest layouts arbitrarily. You can select the location of the navbar pills, as well as their color profile.
Cards
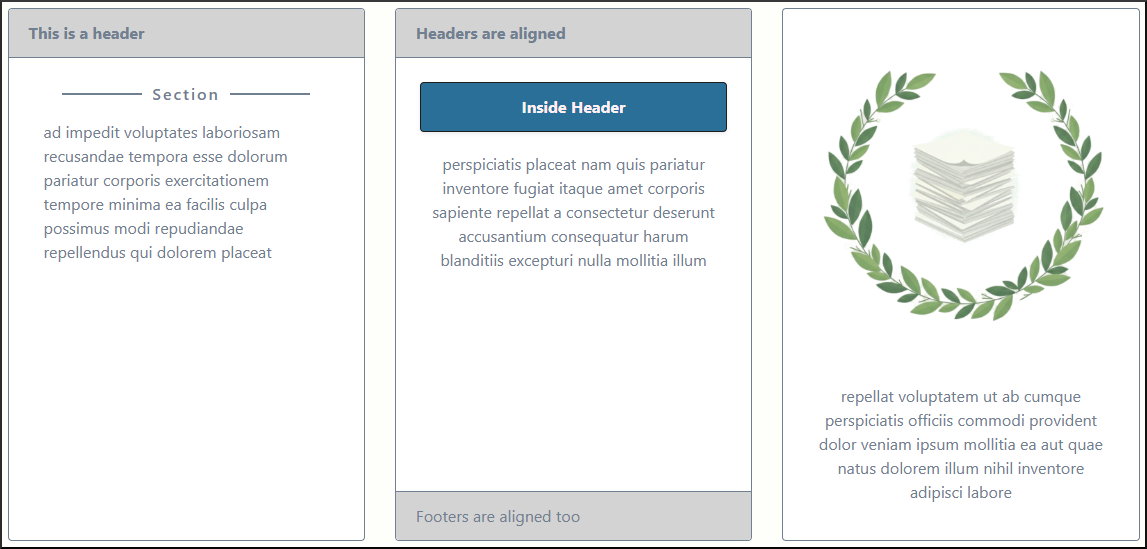
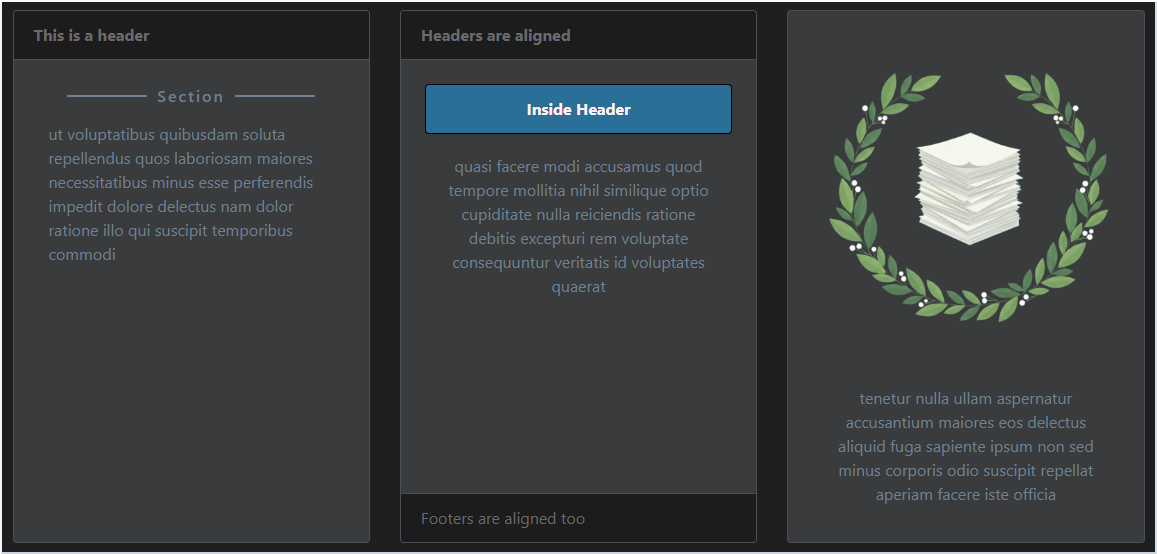
    r.open_cards(cards_type='deck')
    r.add_card(
        header_text='This is a header',
        max_width='23rem'
    )
    r.add_section_title('Section')
    r.add_text(lorem.words(23), align='left')

    r.add_card(
        header_text='Headers are aligned',
        footer_text='Footers are aligned too',
        max_width='23rem'
    )
    r.add_header('Inside Header', color='ocean')
    r.add_text(lorem.words(23))

    r.add_card(
        image='docs/source/_static/logo_dark.png',
        max_width='23rem'
    )
    r.open_tabs()
    r.add_tab('Lorem')
    r.add_text(lorem.words(5))
    r.add_tab('Ipsum')
    r.add_text(lorem.words(5))
    r.close_tabs()
    r.close_cards()
Layout pattern: Open a cards section, add a new card then add content sequentially. Then add as many
elements as you want. You can nest layouts arbitrarily. The cards_type can be either deck, group, or column
which affects how the cards are grouped, see the Bootstrap documentation here
Accordion

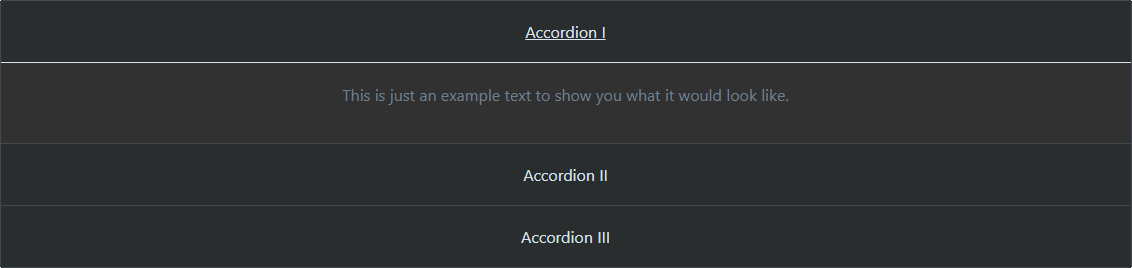
r.open_accordion()
r.add_accordion_item('Accordion I')
r.add_text('This is just an example text to show you what it would look like.')
r.add_accordion_item('Accordion II')
r.add_accordion_item('Accordion III')
r.close_accordion()
Layout pattern: Open an accordion section, add a new accordion then add content sequentially. Then add as many elements as you want. You can nest layouts arbitrarily.
Links
r.add_local_link_to_page('page2', 'Local link to page 2')
Adds a local link to page2 with text Local link to page 2. It is simply a well targeted <a href></a>.
r.add_global_link_to_page('page3', 'Global link to page 3')
Adds a global link to page3 in the navbar right at the top of the page with text Global link to page 3
Image
r.add_image(
    image_source: 'path/to/image'
    remove_source: True,
    responsive: True,
    center: False,
)
Adds the image from path/to/image to the report. You can automatically have the source being removed, if the image is
only used in the report. The image can further be made responsive and centered on the page.
List
arr = [
    'List Item I',
    'List Item II',
    'List Item III',
]
r.add_list(arr)
Simply add a list of items as <ul></ul> to the page.
Dictionary


dc = {'Default 1': lorem.words(23), 'Default 2': lorem.words(42)}
r.add_dictionary(dc, key_width='100px')
Add a dictionary as a 2 column layout to the report. You can change the color of the key and value text independently as well as choose to fix the key column width
Calendar Heatmap
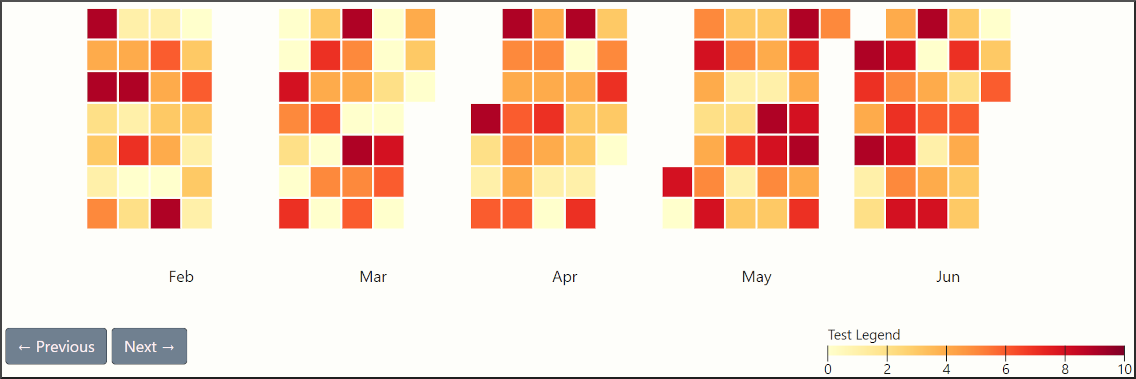
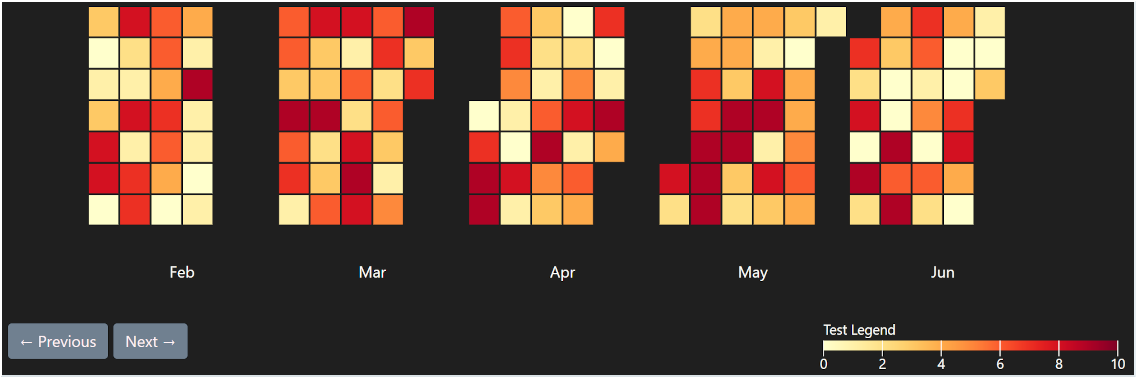
x = []
y = []
for i in range(0, 150):
    x.append((datetime.date(2026, 2, 1) + datetime.timedelta(days=i)).strftime('%Y-%m-%d'))
    y.append(np.random.randint(0, 10))

cfg = {
    'subdomain': {
        'label': None,
    },
    'date': {
        'start': '2026-03-01',
    }
}
r.add_calendar_heatmap(x=x, y=y, custom_config=cfg)
Adds a calendar heatmap to the report. There are a lot of parameters that can be configured, so please check Calendar Heatmap for more information.
Arbitrary HTML
r.add_custom_html_code(custom_html)
Simply add the custom_html code to the page without any check. It is your responsiblity to make sure whatever you add
works.